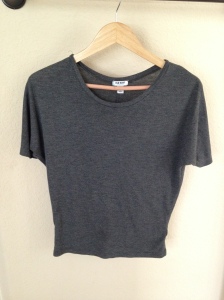
I bought a shirt at Old Navy last year that I’ve just loved. It fits well, it’s stylish and it’s comfortable, and I find myself looking for shirts like it whenever I go shopping. It dawned on me that instead of wearing the same shirt every day 😉 I might just be able to copy it, since it’s a fairly simple design. This was my first time trying to make my own pattern from a piece of clothing so I wasn’t sure how it’d go. The construction isn’t the greatest and I’d make some changes if I make it again, but overall I am pretty pleased with how it turned out!
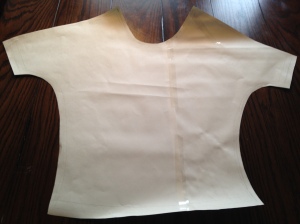
1. First I made a pattern for the shirt. I laid some Ikea kid’s craft paper out on a flat surface and laid the shirt on top and smoothed out the wrinkles. I traced the shirt, noting the seam allowances.
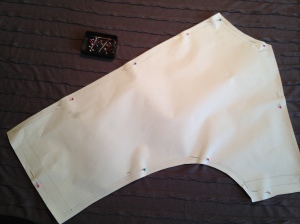
2. I cut out the pattern and pinned it to the fabric. The front had one piece and the back had two pieces. Seriously this is the simplest shirt design! Then I cut out the pattern pieces. I also cut out a strip of the non-ruffled part of the fabric to use as ribbing around the neck.
3. First I sewed the back pieces together. Then I sewed the back of the shirt to the front (right sides together).
4. Then I sewed the arm holes. I turned the edges over and sewed them about 5/8 of an inch in and then went around again about 1/8 inch away from that stitch.
5. Then I sewed the bottom the same way I sewed the sleeves. I did a less of a seam allowance because I wanted it a little longer. I will adjust the pattern if I make this again.
6. Then I folded the ribbing piece of fabric (about an inch thick) in half and sewed it together at the ends, right sides together to make a circle. I then pinned that into the neck hole, right sides together, and stitched it together. And voila! I made a shirt!
